


How to Safely Demolish a Residential Shed
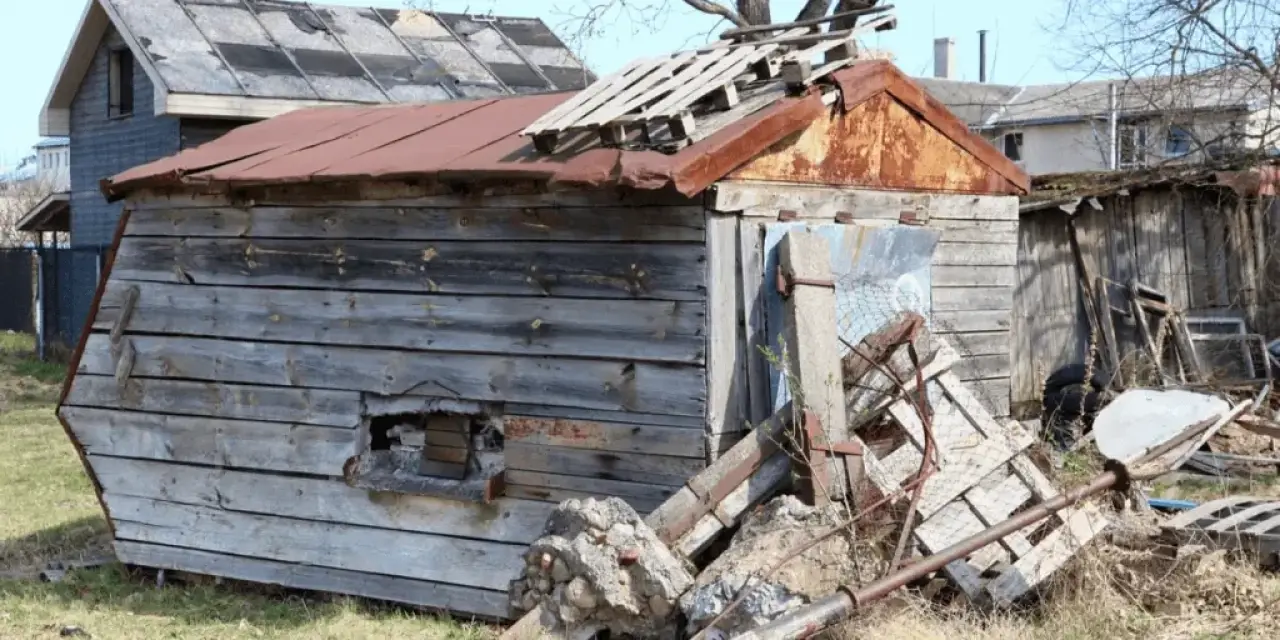
Whether you want to demolish an older shed or you simply have better plans for the space, the demolition of residential outbuildings may seem fairly straightforward. Being that it's not technically a home structure, it looks like nothing a weekend and a sledgehammer can't handle, right? Guess again. There are safe and proper ways to demolish a shed that you need to understand before attempting to tackle such a job yourself.
Firstly, Prepare
"Give me six hours to chop down a tree and I will spend the first four sharpening the axe." - Abraham Lincoln
Before you start tearing down your backyard eyesore, specific preparations are required.
The Legality of Residential Shed Demolition
Tearing down a shed, awning, or any other structure, even if it is on your own property, will likely require compliance with local ordinances. If it turns out that no permits are necessary for your area, it may still be worth touching base with your municipal offices. Typically, a visit to an official city website or a quick phone call will point you in the right direction. Even if no permitting is required, it's still ideal to keep your neighbors informed of your plans so they can prepare for a potentially noisy day in the backyard.
Get Ready For The Mess
If you were planning on demolishing the shed and hauling away the debris in a pickup truck, the mess you wind up with after demolition might leave you with more than you bargained. Before any demolition is to begin, thoroughly take into account just how much debris will need to be hauled away. Perhaps for the smaller sheds, a pickup truck will suffice. In most instances, the rental of a small dumper will be necessary to accommodate all of the refuse adequately. Don't forget to look into recycling options for some of the shed's debris. Recycling is a great way to save money and keep usable materials out of landfills.
Gather Your Necessary Tools
Having the right tools for any job increases your chances of success. Shed demolition is no different. These "tools" include necessary safety gear for you and anyone assisting you with this demolition.
Recommended Safety Gear
- Work gloves
- Steel-toed work boots
- Eye protection
- Long pants and long-sleeved work shirts
- Hearing protection if using more substantial power tools
Recommend Demolition Tools
- Pliers
- Screwdrivers
- Hammers
- Chisels
- Crowbar
- Ladders
- Adjustable wrench set
- Reciprocating saw
- Roofing shovel
- A few 2x4s
Removing Utility Hazards
If the shed you plan to demolish has any electrical lines or plumbing, it is best to consult a professional on how to cut off all connections and cap any plumbing safely.
Organize the Space
Before demolition can begin, make sure to remove as many items from the shed as you can. The fewer items remaining in the shed, the less hassle you will experience later in trying to haul it to a nearby dumpster or possibly even recover if you forgot about it. Treat any hazardous materials (old batteries, oil, paint, chemicals, etc.) appropriately according to your local ordinances.
Remove What Can Be Removed
You can simplify the demolition by first stripping out anything that can be removed before the shed structure is set to come down. Remove windows, doors, shelves, any disconnected electrical fixtures. Anything non-structural that can be removed should be first. This may also include non-loadbearing wall panels and the like. Save the demolition of the load-bearing elements for the end.
Work Top Down
It may be tempting to drop the shed and haul the pieces away in larger chunks. This strategy will result in dangerous working conditions and make moving these elements a back-breaking endeavor. Also, keep in mind that the shed structure will become increasingly unstable as your demolition progresses. For this reason, working top-down will ensure a safer and easier demolition.
Roof Removal
Starting at the very top of the roof, use a roofing shovel or crowbar and hammer to remove the shingles. You should never yourself be on the roof of the shed while doing this. Instead, you should be on the ground or a ladder. If working from these heights makes you uncomfortable, it may be best to hire a demolition professional.
To save time and reduce mess, it's best to have the dumpster nearby so you can throw discarded shingles and other debris directly into it. Once the shingles are up, you can also begin prying up any sheathing or sections of plywood just below them. If you're removing a metal roof, pry up the sheet metal from the rafters.
Once the roofing material is removed, you can begin safely dismantling the rafters of the roof. If they are not coming apart quickly with a crowbar, it may be necessary to use a reciprocating saw to cut them apart where they are connected to the walls.
Wall Removal
To remove the siding from the shed, you can use the sledgehammer to knock the non-loadbearing siding loose from the inside. This should not be with load-bearing walls, however, as you will want to work from the outside-in to avoid injury.
Upon removing the roof and discarding it into a nearby dumpster, you will need to begin demolishing the walls. Begin dismantling the least load-bearing walls first to remove the load burden on more supportive walls. Walls with doors and windows are frequently the least load-bearing, so you may consider removing those first. You can begin to destabilize the shed by removing any connecting nails or screws, working from the top down. Always assess the stability of the structure and your location to avoid premature collapse.
Safety Check
As you begin taking down supportive walls, the remaining walls will become less stable and more load-bearing. If you have people helping you, they may need to hold up some walls as you begin to dismantle other walls for the sake of safety. If you are working by yourself, leaning the before-mentioned 2x4s against the walls at an angle can help the shed frame maintain its structure until you're ready for it to come down.
Floor Demolition
To remove a wood floor from a shed, you can either opt to pry up the floorboards with a crowbar or cut them out with a reciprocating saw. If the floor is concrete and you have other plans for it, no other action is necessary. Concrete slab floor removal is a bit more involved and may require professional assistance.
Clean Up
Hopefully, you were able to toss discarded debris into dumpsters or recycling bins as you progressed. Even if you were able to, it's a good idea to make another pass to ensure that no remnants of the shed remain—including screws and nails that may have fallen into the grass or in other areas. Discovering a rusty nail or screw later with a lawnmower or a bare foot is potentially dangerous.
When to Seek Professional Help
Some homeowners will be able to thoroughly tackle shed demolition themselves or with the help of friends or family members. While this is the case, there's absolutely no shame in seeking professional help. Experienced demolition professionals can safely and quickly remove such unwanted structures without a trace. Weigh your options carefully before proceeding.
Source: http://dtwreckit.com/blog/posts/view/239/how-to-safely-demolish-a-residential-shed

Local Reliable Experts!
Environmentally Responsible Waste Solutions